
A linocut is one of the few printmaking methods you can set up on a kitchen table and finish in an afternoon. You carve a design into a sheet of lino, roll ink across whatever is left raised, lay paper on top and rub. That is the whole process. The variables — the lino, the ink, the pressure — are what keep people hooked, and they are also where beginners get stuck.
None of it is difficult. It just needs a bit of order: sharp tools, thin ink, and a steady hand on the paper. Here is how to get a clean first print without spending much or cutting yourself.
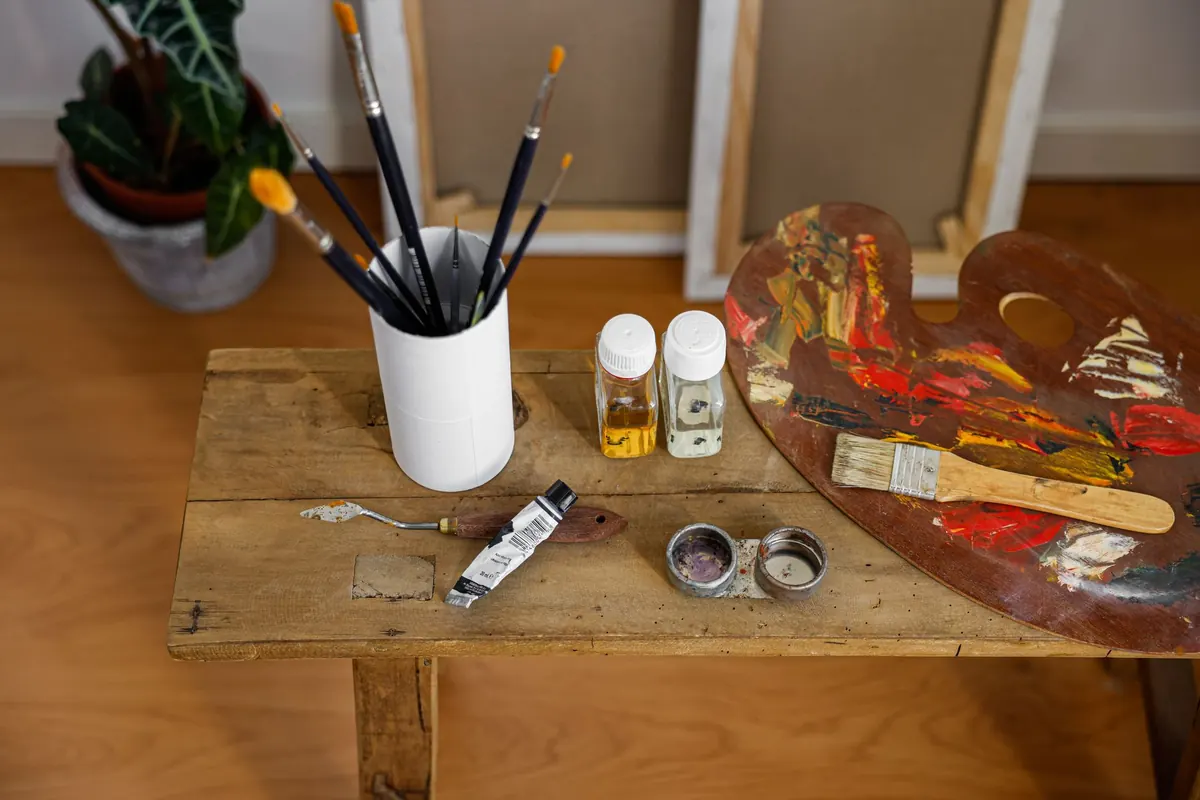
The kit you need to start
You do not need a press, a studio or a lot of money. A small A5 or A4 piece of lino is enough for several prints and a couple of hours' work.
- A lino cutter with interchangeable blades. You will use two: the V-shaped gouge for outlines and fine lines, and the U-shaped gouge for clearing wider areas.
- Lino — a piece of traditional grey hessian-backed lino or soft-cut vinyl/rubber, about 3mm thick.
- A bench hook or non-slip mat so the lino cannot slide while you cut.
- An ink roller (brayer), roughly 60–100mm wide.
- Relief printing ink — water-based for easy cleaning, oil-based for a deeper black and a longer working time.
- An inking plate: a piece of glass with taped edges, an acrylic sheet or a smooth tile.
- Paper — see below for what works.
- A baren, wooden spoon or clean dry roller for rubbing the back of the paper.
- Tracing paper, a soft pencil (2B), a permanent marker and a few sheets of scrap paper.
- Kitchen roll and washing-up liquid for cleaning up.
Choosing your lino
Traditional grey lino is firm and holds fine detail well, but it takes real effort to carve, especially in cold weather. Warm it gently on a radiator, or press it with an iron set low over a sheet of paper, and it cuts far more easily. Keep the room ventilated while you do it.
Soft-cut vinyl and rubber are the friendlier option for a first attempt. They slice through with little resistance, which makes them ideal if you have weaker hands or you are working with children. The trade-off is softness: very fine lines can wobble or tear, so keep shapes bold. Both types print perfectly well — the difference is mostly in how they feel under the blade.
Carving safely
Lino cutters are sharp, and the blade always goes where the handle points. A few habits will keep your fingers intact.
How to hold the tool
- Rest the lino flat on the bench hook. Never lift it up towards your face to see better.
- Hold the cutter in your dominant hand and keep the other hand behind and beside the blade, never in its path.
- Always cut away from your body. Turn the lino to follow a curve rather than twisting your wrist.
- Take shallow passes. Several light cuts give you control; one deep gouge gives you a slip and a plaster.
- Keep blades sharp. A blunt tool needs more force, and more force is what causes accidents.
- Work in good light, and stop when you are tired or rushing.
If you do cut yourself and the wound is deep or will not stop bleeding, seek medical advice rather than carrying on.
Transferring your design
Draw your design on paper first, keeping it simple: thick lines, strong shapes, plenty of contrast. Areas you carve away will stay the colour of the paper; areas left raised will take the ink.
Trace the drawing with a soft pencil, turn the tracing face down onto the lino and rub the back with a spoon or your thumbnail. Remember that a print is a mirror image, so any lettering needs to be traced in reverse or written backwards on the lino.
Rolling ink evenly
Squeeze a blob of ink about the size of a 10p coin onto your inking plate. Roll it out in a rectangle, changing direction as you go. You are aiming for a thin, even, slightly tacky film — it should look velvety and make a soft hissing sound as the roller passes over it. If it looks like a wet slab, you have too much; scrape some off with a piece of card and roll it out further.
Now roll across the lino, not just up and down. Go side to side, then diagonally, reloading the roller with a couple of passes on the plate as needed. The surface should be evenly coated while the carved lines stay completely clean. Excess ink is the most common beginner's problem: it fills the cuts and prints as dark, blotchy patches, undoing all your careful carving.
Printing by hand without a press
Set up a simple jig first. Tape a sheet of paper to a board and draw around the lino in pencil. Every print then lands in exactly the same place, which makes registration and repeat prints much easier.
- Ink the lino and place it in the marked position.
- Lay the printing paper on top, holding the top edge and lowering it gently so nothing shifts.
- Hold the paper steady with one hand and burnish with the other, working in small circles from the centre outwards and finishing at the edges. Cover every part of the lino.
- Peel the paper from one corner, slowly, keeping the lino pressed down with your free hand.
- Lift the print by opposite corners and lay it flat to dry.
Paper that behaves
Smooth cartridge paper of around 120–160gsm is ideal for hand printing. Thin Japanese papers such as hosho pick up fine detail beautifully, while heavy printmaking paper needs more pressure and often a light damping with a sponge. Avoid rough watercolour paper, which breaks up the line, and copier paper, which buckles.
When a print goes wrong
- Faint, patchy print: too little ink or too little pressure. Re-roll the lino and burnish harder, especially around the edges.
- Blotchy print with clogged lines: far too much ink. Wipe the lino with a cloth and take less off the plate.
- Lines breaking up: a blunt blade, cold lino or cuts that are too shallow.
- Double image: the lino moved. Hold it down while you peel, and use a jig.
- Lettering reads backwards: you forgot the mirror image. Retrace it flipped.
Your first ten prints
Sign and number finished prints in pencil beneath the image, and keep your lino flat, wrapped and away from direct heat. It will last for years, so you can reprint the same design whenever you like. Water-based ink washes off the roller under warm water with a drop of washing-up liquid; dry it and stand it on its handle end so the rubber does not flatten. Oil-based ink needs a suitable solvent, so work with the window open and follow the manufacturer's instructions on the tin.
Start with one bold shape, print it twelve times, and see what changes. That is the whole lesson.
Photo: Pexels / Pixabay