
10 Common Acrylic Painting Mistakes and How to Fix Them
Acrylics are the most forgiving paint most of us ever pick up. They cover almost anything, dry quickly, and cost a fraction of oils, which is exactly why so many people start there. That speed is also where the trouble begins. A painting that looked promising ten minutes ago can turn patchy, chalky or flat grey before you have finished your tea. Nothing on this list is fatal. Every mistake here has a correction you can apply today, and most of them take less time to fix than they did to cause.
The key is to stop treating acrylics like oils with a faster drying time. They reward planning, clean mixing and decisive marks. They punish endless fiddling. Once you understand how the paint behaves as it dries, you can work with the clock instead of against it.
1. Drying Times: Where Most Damage Starts
Acrylic paint dries as water evaporates out of the film, so the clock is always running. A thin layer can be touch-dry in minutes. A heavy blob may look set on the surface while still soft underneath. Knowing which stage your paint has reached is half the battle.
Mistake 1: Painting into paint that has begun to skin over
You go back to soften an edge from five minutes ago and the brush drags up half-set paint, leaving ridges and a bald patch where your colour used to be. If the layer beneath was a thin wash, it lifts completely. This is especially common when painting skies, water or soft skin tones, where you naturally want to keep blending.
Fix: work in passes, not in circles. Lay a passage, then leave it alone and move to another part of the canvas. If you want a soft transition, blend while both areas are genuinely wet, or wait until the layer is fully dry and glaze a translucent colour over the join. A light mist of water over your working area buys a few extra minutes, and a stay-wet palette keeps your mixed colours usable for hours rather than minutes.
Mistake 2: Piling it on thick
Thick acrylic skins over quickly but stays soft inside. Pile it on and you invite wrinkling, cracking, or a surface that never quite settles flat. Heavy dry-brush marks also eat paint at a surprising rate. If you have ever watched a thick ridge of titanium white develop a rubbery skin while the paint beneath it still dents under a fingernail, you have met this problem.
Fix: build in layers. Two thin coats give you more control, dry faster and look richer than one heavy one. Keep impasto for your final statement marks, and let each layer dry properly before the next goes down. If you want texture early, use a modeling paste or a medium designed for impasto rather than raw paint alone.
2. Overworking the Surface
Mistake 3: Blending long past the point of freshness
The giveaway is a passage that has gone grey and lifeless. Every extra stroke mixes what is on the canvas with what is on your brush, and after twenty of them you have a colour nobody chose. A sunset that began as orange and violet becomes a muddy mauve; a green field turns to olive soup.
Fix: decide the colour you want, load the brush, and make the shape in three or four strokes. Then stop. If it is wrong, let it dry and paint over it rather than trying to blend your way out of trouble. Stepping two paces back from the easel every few minutes helps more than any clever technique.
Mistake 4: Chasing detail before the big shapes are settled
Small, careful marks painted onto unresolved large shapes rarely survive. Acrylic also dries slightly darker and more matte than it looks when wet, so highlights added early get swallowed by the layer above. Painting individual leaves before the tree has a believable mass is a classic trap.
Fix: work from big to small. Block in the major shapes, check the values by half-closing your eyes, and only then move to edges and details. Save your lightest lights and darkest darks for the final third of the painting.
3. Colour Mixing: Habits That Grey Everything Down
Mistake 5: Darkening with black
Black dulls and deadens most colours. A red darkened with black turns brownish and flat; a green goes to sludge. Try mixing a dark transparent colour with a complementary instead — burnt umber with ultramarine makes a rich near-black that stays lively in a shadow.
Fix: build a custom dark. For warm shadows, try burnt sienna plus ultramarine. For cool shadows, try phthalo blue plus burnt umber. For a deeper red shadow, use alizarin crimson with a touch of viridian. You will get shadows that feel coloured rather than merely dark.
Mistake 6: Mixing too many pigments at once
Once four or five colours are on the palette knife, the result is usually grey. Try a few rules that keep mixes clean:
- Limit yourself to two or three pigments per mix wherever you can.
- Mix on a clean area of the palette, not in the middle of yesterday's leftovers.
- Add white last, in small amounts, and keep a separate clean pile for it.
- Test every mix on a scrap of canvas or paper before it touches the painting.
One more useful habit: keep a small colour notebook or a scrap card beside the easel. Wipe a stroke of each successful mix onto it and label the pigments. After a few sessions, you will have a personal library of greens, skin tones and greys that you can repeat without guesswork.
Mistake 7: Judging colour while it is still wet
Wet acrylic is brighter and glossier than dry acrylic, which is why so many paintings end up darker than intended. Paint a small swatch on spare paper, dry it with a hairdryer on a cool setting, and compare that against the wet mix before you commit to a large area.
Fix: make a habit of testing. If the dried swatch looks too dark, lighten the mix by a half-step more than feels comfortable. If it looks chalky, you probably added too much white; try a more transparent lightener such as zinc white or a tinting medium instead.
4. Water, Medium and Dilution
Mistake 8: Using water as your only thinner
Water is fine for rinsing brushes and thinning paint slightly, but too much of it breaks the acrylic binder. The result is underbound paint that looks chalky, dries weak, and can dust off or crack later. You may also notice a patchy, uneven finish that no amount of overpainting seems to fix. If your paint starts to feel slippery and watery rather than creamy, you have gone too far.
Fix: use an acrylic medium for anything beyond a light wash. Matte medium, gloss medium, flow improver and airbrush medium all thin paint while preserving the binder. A good rule is to keep water to no more than about one-third of your thinning mixture, and use medium for the rest. For transparent glazes, mix medium with a small amount of paint rather than flooding the palette with water.
If you can see the pigment separating from a watery puddle, the mix is too thin. Add a drop of medium, not more water.
5. Brushes, Palettes and Cleanup
Mistake 9: Letting acrylic dry on your brushes and palette
Acrylic dries waterproof. Once it sets inside the ferrule of a brush, the bristles splay, harden and lose their spring. A dried palette becomes a graveyard of unusable colour, and scraping it clean later wastes time you could spend painting. Even a ten-minute pause can ruin a good brush if paint is left near the base of the hairs.
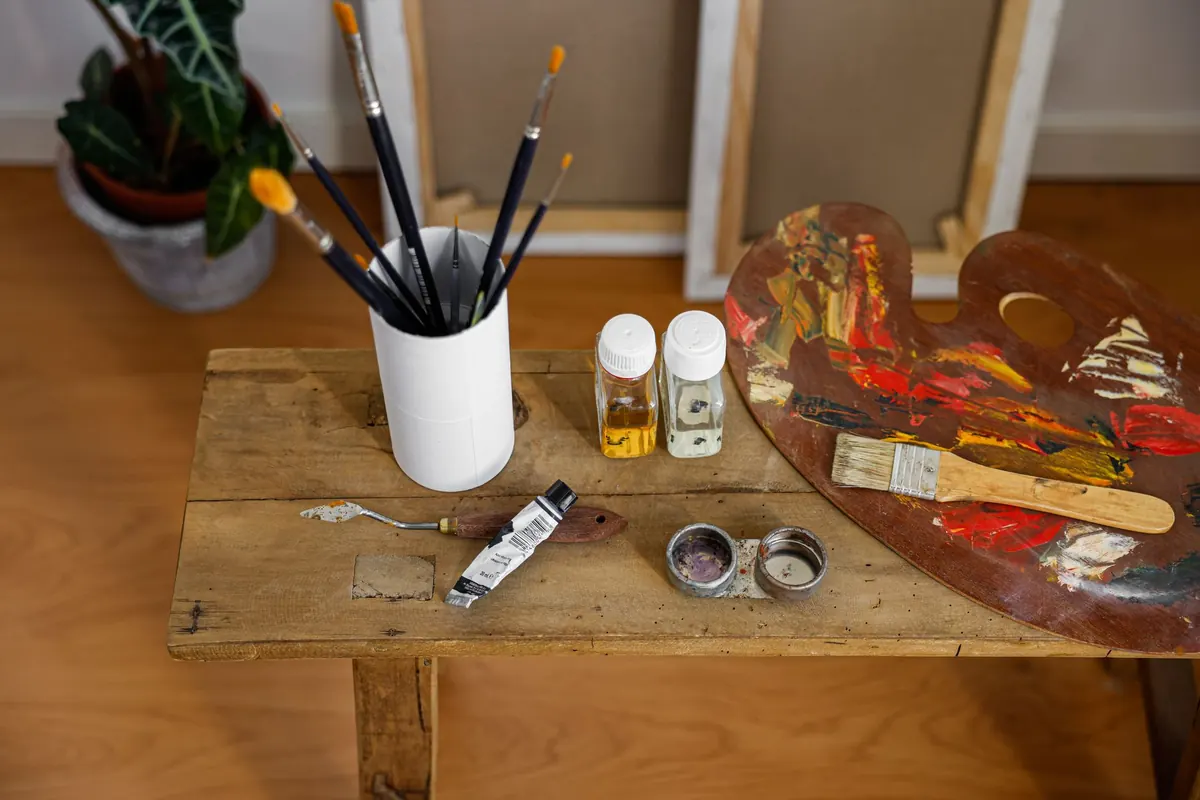
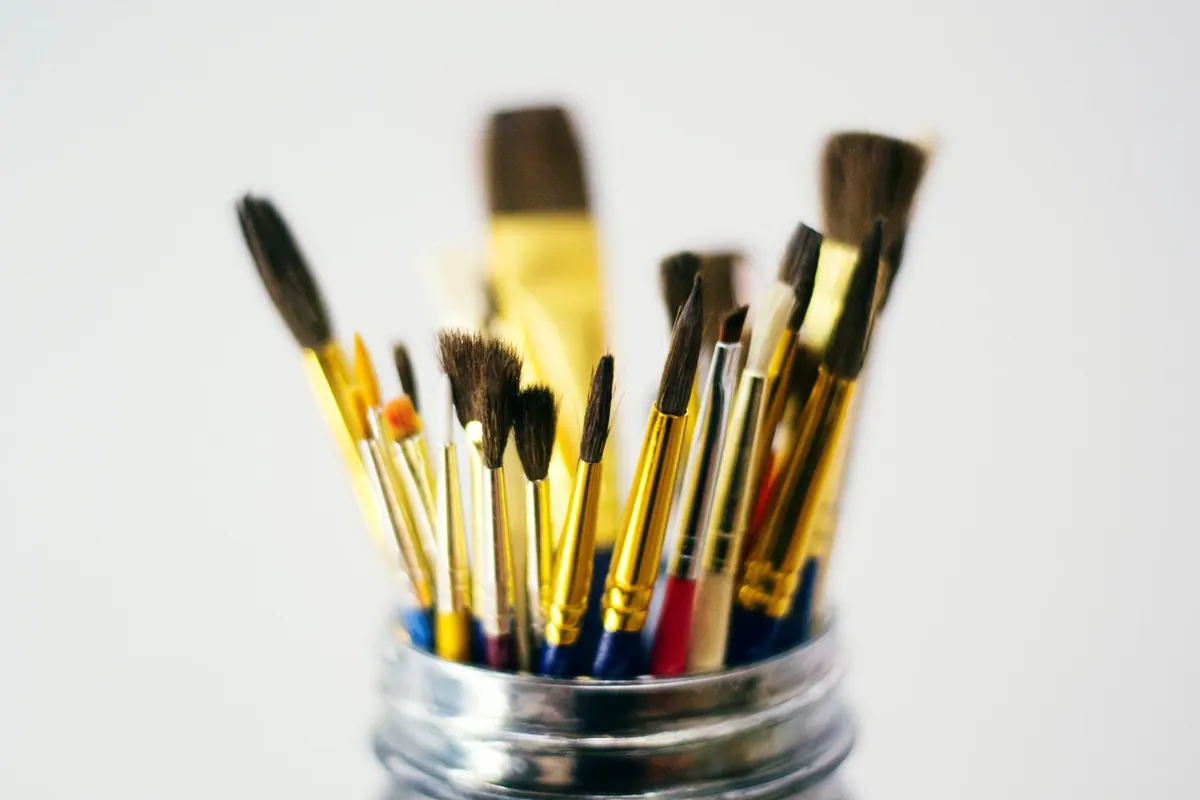
Fix: clean as you go. Keep two jars of water — one for rinsing dirty brushes, one for clean water — and wipe brushes on a rag before rinsing. Wash brushes with warm water and mild soap at the end of every session, working the lather right down to the ferrule. For palettes, use a stay-wet box, a glass sheet or a disposable palette, and mist it lightly if you need to pause. Never leave a brush standing bristle-down in water; that bends the hairs and can loosen the handle.
6. Finishing: Varnish, Framing and Display
Mistake 10: Varnishing too soon or not at all
Varnish can unify the surface, deepen colours and protect the paint, but it cannot rescue a painting that is still wet underneath. Acrylic dries from the outside in, and a thick passage may feel dry for days while the interior remains soft. Varnishing too early traps solvent and moisture, which can lead to cloudiness, cracks or a sticky surface. Skipping varnish entirely leaves the painting vulnerable to dust, UV light and accidental scuffs.
Fix: let the painting cure fully before varnishing. A thin
Photo: Em Everyday Living / Pexels